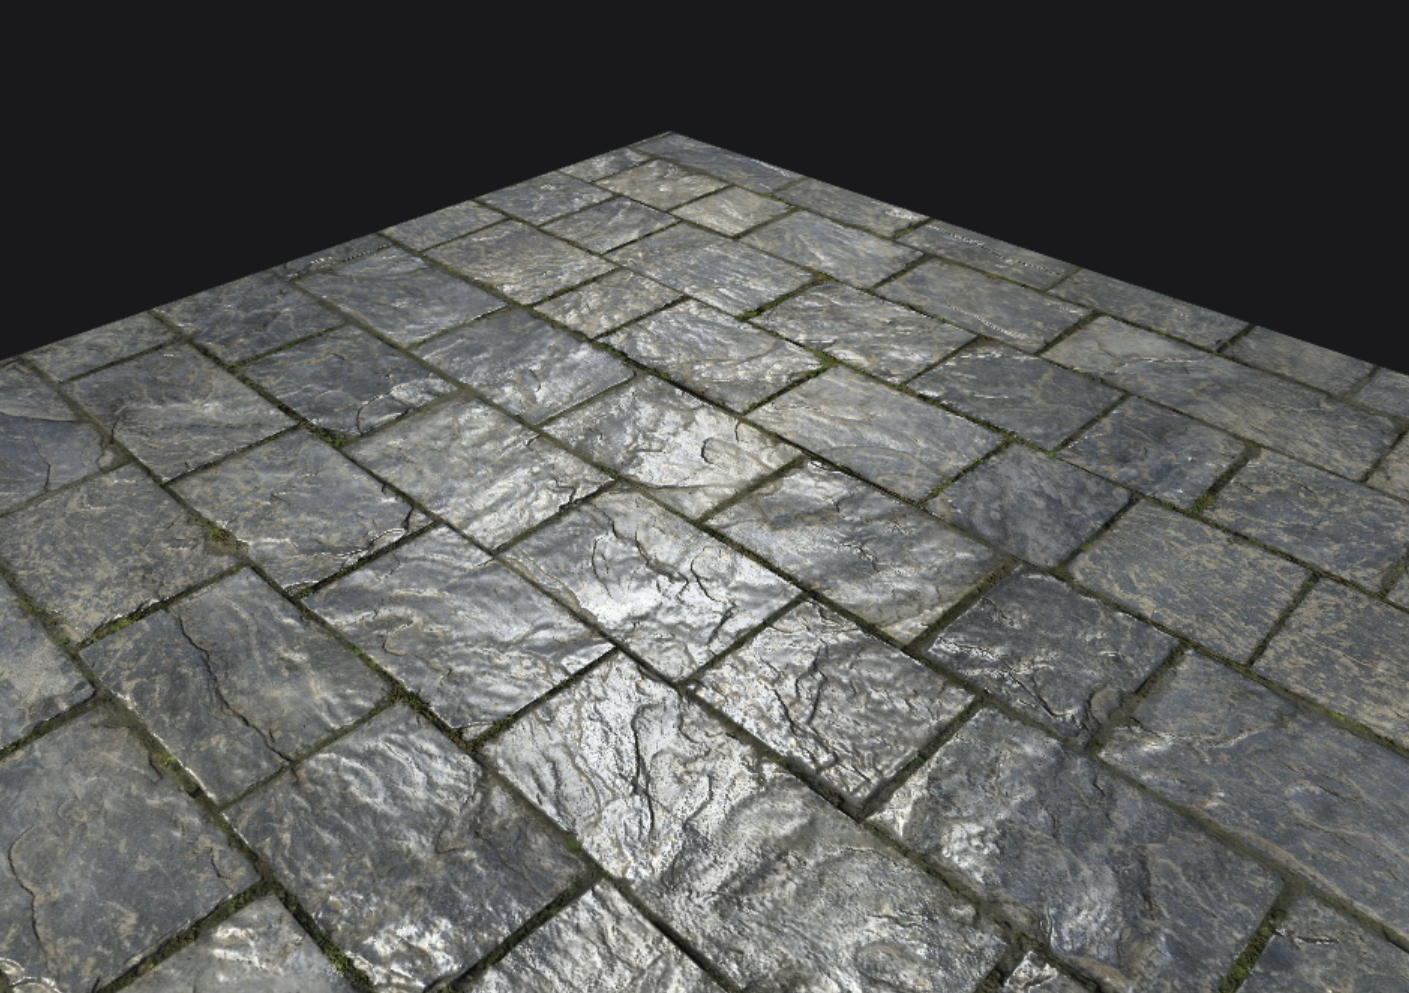
要实现的效果

系列教程
- 【WebGL】从零开始的Web端渲染器(1)——框架搭建
- 本篇
- 【WebGL】从零开始的Web端渲染器(3)——法线贴图
- 【WebGL】从零开始的Web端渲染器(4)——贴图及阴影抗锯齿(还在写)
思路设计
原理
思路比较简单,就是逐个灯光绘制阴影深度图,然后再逐个灯光渲染的时候对比对应像素世界位置距离光源的距离,和深度图的深度。如果距离更远就表示他与光源之间被其他东西挡住了。
这个shadow map技术,网上一群教程,这里就不在赘述了。(其实最好还要模糊一下,抗锯齿,但是我还不会,有生之年再做)
设计
这里的设计是参考我之间的文章。
- 每个灯光有自己的Shadow Map,在场景加载过程中初始化。
- 在渲染循环中,先让每个灯光绘制自己的shadow map,再正常渲染。
- 因为要绘制shadow map,所以材质要加一个shader用于投射阴影。
- 在着色器中,获取阴影贴图并且解码获得当前像素是否在阴影中。
实现
灯光Shadow Map
下方是初始化shadow map的代码,由一个负责颜色缓冲区的贴图和负责深度缓冲区的renderbuffer组成。这里在一开始分配给该shadow map了一个Texture Unit的编号,并做了绑定,方便后面使用。
1
2
3
4
5
6
7
8
9
10
11
12
13
14
15
16
17
18
19
20
21
22
23
24
25
26
27
28
29
30
31
32
33
34
35
36
37
38
39
40
41
42
43
44
45
46
47
48
| initShadowMap(lightIndex, startTexUnit) {
this.lightIndex = lightIndex;
this.shadowMapTexUnit = gl.TEXTURE0 + startTexUnit + lightIndex;
let texture, depthbuffer;
var error = () => {
if (texture) gl.deleteTexture(texture);
if (depthbuffer) gl.deleteRenderbuffer(depthbuffer);
if (framebuffer) gl.deleteFramebuffer(framebuffer);
console.error('灯光Shadow Map加载失败');
}
texture = gl.createTexture();
if (!texture) error();
gl.activeTexture(this.shadowMapTexUnit);
gl.bindTexture(gl.TEXTURE_2D, texture);
gl.texImage2D(gl.TEXTURE_2D, 0, gl.RGBA, this.shadowMapRes, this.shadowMapRes, 0, gl.RGBA, gl.UNSIGNED_BYTE, null);
gl.texParameteri(gl.TEXTURE_2D, gl.TEXTURE_MIN_FILTER, gl.LINEAR);
depthbuffer = gl.createRenderbuffer();
if (!depthbuffer) error();
gl.bindRenderbuffer(gl.RENDERBUFFER, depthbuffer);
gl.renderbufferStorage(gl.RENDERBUFFER, gl.DEPTH_COMPONENT16, this.shadowMapRes, this.shadowMapRes);
this.shadowMap = gl.createFramebuffer();
if (!this.shadowMap) error();
gl.bindFramebuffer(gl.FRAMEBUFFER, this.shadowMap);
gl.framebufferTexture2D(gl.FRAMEBUFFER, gl.COLOR_ATTACHMENT0, gl.TEXTURE_2D, texture, 0);
gl.framebufferRenderbuffer(gl.FRAMEBUFFER, gl.DEPTH_ATTACHMENT, gl.RENDERBUFFER, depthbuffer);
let e = gl.checkFramebufferStatus(gl.FRAMEBUFFER);
if (e !== gl.FRAMEBUFFER_COMPLETE) {
console.log('Framebuffer不完整');
error();
}
gl.bindRenderbuffer(gl.RENDERBUFFER, null);
gl.bindFramebuffer(gl.FRAMEBUFFER, null);
}
|
Shadow Caster着色器
这个很简单,就是添加一个着色器,然后加载的时候加载两个就好了。
ShadowCaster代码:
1
2
3
4
5
6
7
8
9
10
11
12
13
14
| attribute vec4 a_Position;
attribute vec2 a_TexCoord;
attribute vec3 a_Normal;
uniform mat4 u_Matrix_M_I;
uniform mat4 u_Matrix_MVP;
uniform vec4 u_LightPos;
uniform vec4 u_LightColor;
void main()
{
gl_Position = u_Matrix_MVP * a_Position;
}
|
1
2
3
4
5
6
7
8
9
10
11
12
13
14
15
16
17
18
19
20
21
22
23
24
| #version 100
#ifdef GL_ES
#ifdef GL_FRAGMENT_PRECISION_HIGH
precision highp float;
#else
precision mediump float;
#endif
#endif
uniform mat4 u_Matrix_M_I;
uniform mat4 u_Matrix_MVP;
uniform vec4 u_LightPos;
uniform vec4 u_LightColor;
void main()
{
const vec4 bitShift = vec4(1.0, 256.0, 256.0 * 256.0, 256.0 * 256.0 * 256.0);
const vec4 bitMask = vec4(1.0 / 256.0, 1.0 / 256.0, 1.0 / 256.0, 0.0);
vec4 rgbaDepth = fract(gl_FragCoord.z * bitShift);
rgbaDepth -= rgbaDepth.gbaa * bitMask;
gl_FragColor = rgbaDepth;
}
|
这里为了提高阴影贴图精度,将深度信息以256划分之后存在了rgba四个通道里。
所以使用的时候要再解码。这里举个使用的例子:
1
2
3
4
5
6
7
8
9
10
11
12
13
14
| float unpackDepth(const in vec4 rgbaDepth) {
const vec4 bitShift = vec4(1.0, 1.0 / 256.0, 1.0 / (256.0 * 256.0), 1.0 / (256.0 * 256.0 * 256.0));
float depth = dot(rgbaDepth, bitShift);
return depth;
}
float getShadow() {
vec3 shadowCoord = (v_PositionFromLight.xyz / v_PositionFromLight.w) / 2.0 + 0.5;
vec4 rgbaDepth = texture2D(u_ShadowMap, shadowCoord.xy);
float depth = unpackDepth(rgbaDepth);
float shadow = (shadowCoord.z > depth + 0.0001) ? 0.0 : 1.0;
return shadow;
}
|
直接调用GetShadow函数就可以获得一个非0既1的数了,表示在不在当前光源的阴影里。
绘制shadow map
先逐光源绑定绘制目标为灯光shadow map,绘制shadow map:
1
2
3
4
5
6
7
8
9
10
11
12
13
14
15
16
17
18
19
20
21
22
23
24
25
26
27
28
29
30
| render(clearColor)
{
this.lightList.forEach((light, lightIndex, arr) =>
{
gl.bindFramebuffer(gl.FRAMEBUFFER, light.shadowMap);
gl.viewport(0, 0, light.shadowMapRes, light.shadowMapRes);
gl.clearColor(1.0, 1.0, 1.0, 1.0);
gl.clear(gl.COLOR_BUFFER_BIT | gl.DEPTH_BUFFER_BIT);
this.meshList.forEach((mesh, meshIndex, arr) =>
{
this.drawShadowMap(mesh, light);
})
})
gl.bindFramebuffer(gl.FRAMEBUFFER, null);
gl.viewport(0, 0, width, height);
gl.clearColor(clearColor[0], clearColor[1], clearColor[2], clearColor[3]);
gl.clear(gl.COLOR_BUFFER_BIT | gl.DEPTH_BUFFER_BIT);
this.lightList.forEach((light, lightIndex, arr) =>
{
this.meshList.forEach((mesh, meshIndex, arr) =>
{
this.drawMesh(mesh, light, lightIndex);
})
})
}
|
在绘制函数中,直接传入灯光的mvp矩阵绘制就好了
1
2
3
4
5
6
7
8
9
10
11
12
13
14
15
16
17
18
19
20
| drawShadowMap(mesh, light)
{
gl.useProgram(mesh.material.getShadowCasterProgram());
if (mesh.material.bDepthTest) gl.enable(gl.DEPTH_TEST);
else gl.disable(gl.DIPTH_TEST);
if (mesh.material.shadowCaster.a_Position >= 0) this.bindAttributeToBuffer(mesh.material.shadowCaster.a_Position, mesh.model.vertexBuffer);
if (mesh.material.shadowCaster.a_TexCoord >= 0) this.bindAttributeToBuffer(mesh.material.shadowCaster.a_TexCoord, mesh.model.texCoordBuffer);
if (mesh.material.shadowCaster.a_Normal >= 0) this.bindAttributeToBuffer(mesh.material.shadowCaster.a_Normal, mesh.model.normalBuffer);
gl.bindBuffer(gl.ELEMENT_ARRAY_BUFFER, mesh.model.indexBuffer);
let mvpMatrix = new Matrix4().set(light.vpMatrix).multiply(mesh.mMatrix);
gl.uniformMatrix4fv(mesh.material.shadowCaster.u_Matrix_MVP, false, mvpMatrix.elements);
gl.uniformMatrix4fv(mesh.material.shadowCaster.u_Matrix_M_I, false, mesh.mIMatrix.elements);
gl.drawElements(gl.TRIANGLES, mesh.model.indexNum, mesh.model.indexBuffer.dataType, 0);
}
|
使用Shadow Map
把该灯光的mvp矩阵再次传进去,同时传入shadow map的编号,以在片段着色器中使用shadow map
1
2
3
4
5
6
7
8
9
10
11
12
13
14
15
16
17
18
19
20
| drawMesh(mesh, light) {
if (light.lightIndex === 0) {
gl.useProgram(mesh.material.getBaseProgram());
if (mesh.material.bDepthTest) gl.enable(gl.DEPTH_TEST);
else gl.disable(gl.DIPTH_TEST);
···
···
let mvpMatrixLight = new Matrix4().set(light.vpMatrix).multiply(mesh.mMatrix);
if (mesh.material.baseShader.u_Matrix_Light) gl.uniformMatrix4fv(mesh.material.baseShader.u_Matrix_Light, false, mvpMatrixLight.elements);
if (mesh.material.baseShader.u_ShadowMap) gl.uniform1i(mesh.material.baseShader.u_ShadowMap, light.shadowMapTexUnit - gl.TEXTURE0);
gl.drawElements(gl.TRIANGLES, mesh.model.indexNum, mesh.model.indexBuffer.dataType, 0);
}
else { }
}
|
然后直接调用GetShadow函数就可以获得阴影了。
结束
上一篇教程:【WebGL】从零开始的Web端渲染器(1)——框架搭建
下一个教程:【WebGL】从零开始的Web端渲染器(3)——法线贴图


