写在前面
bloom效果直接用unity自带的Post Processing就好。我哈皮没上网好好查就开始造轮子,好孩子不要学。
参考的文章:https://zhuanlan.zhihu.com/p/91390940
这篇文章的原理部分讲的很好,不过代码部分有一些错误,我进行了改正。
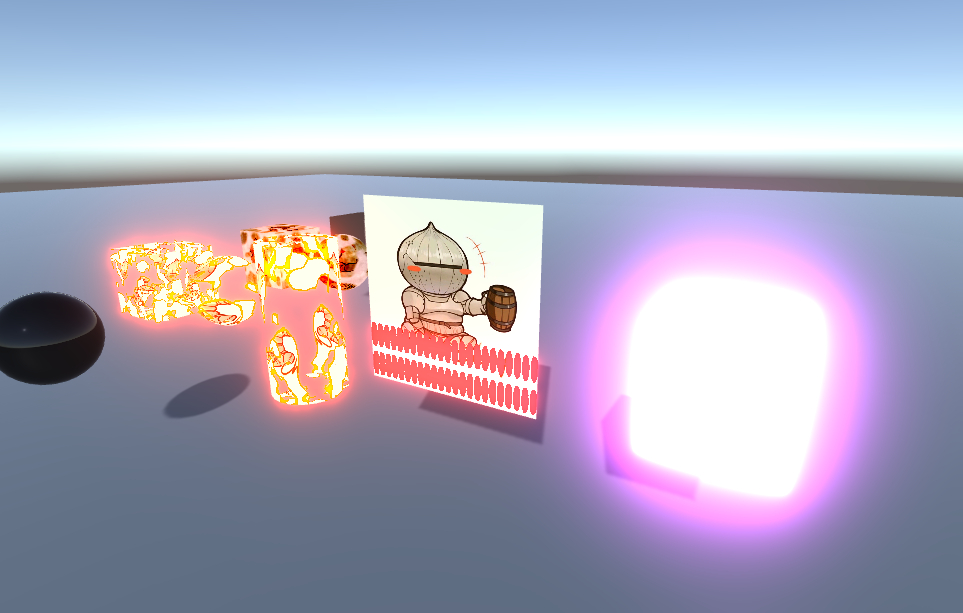
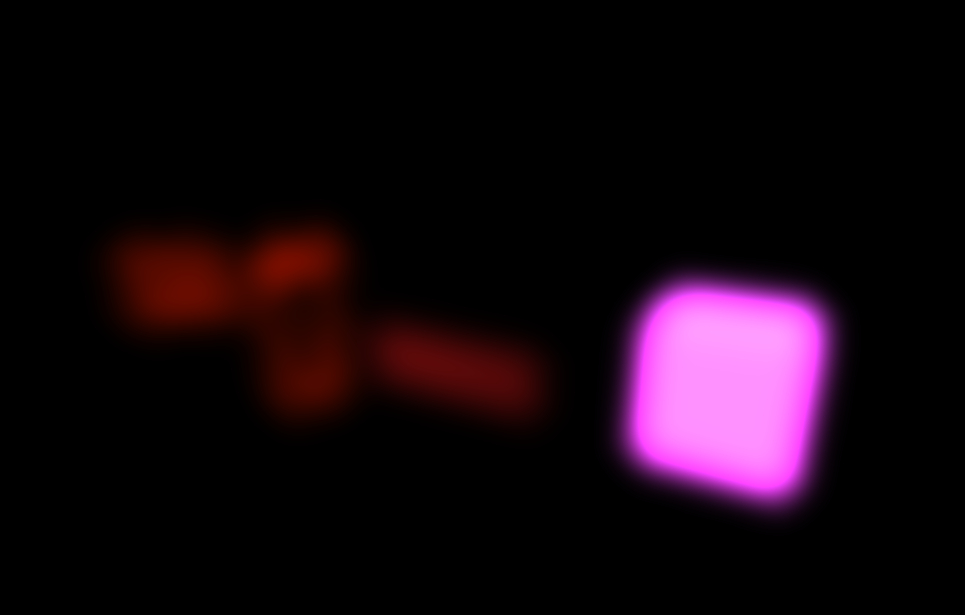
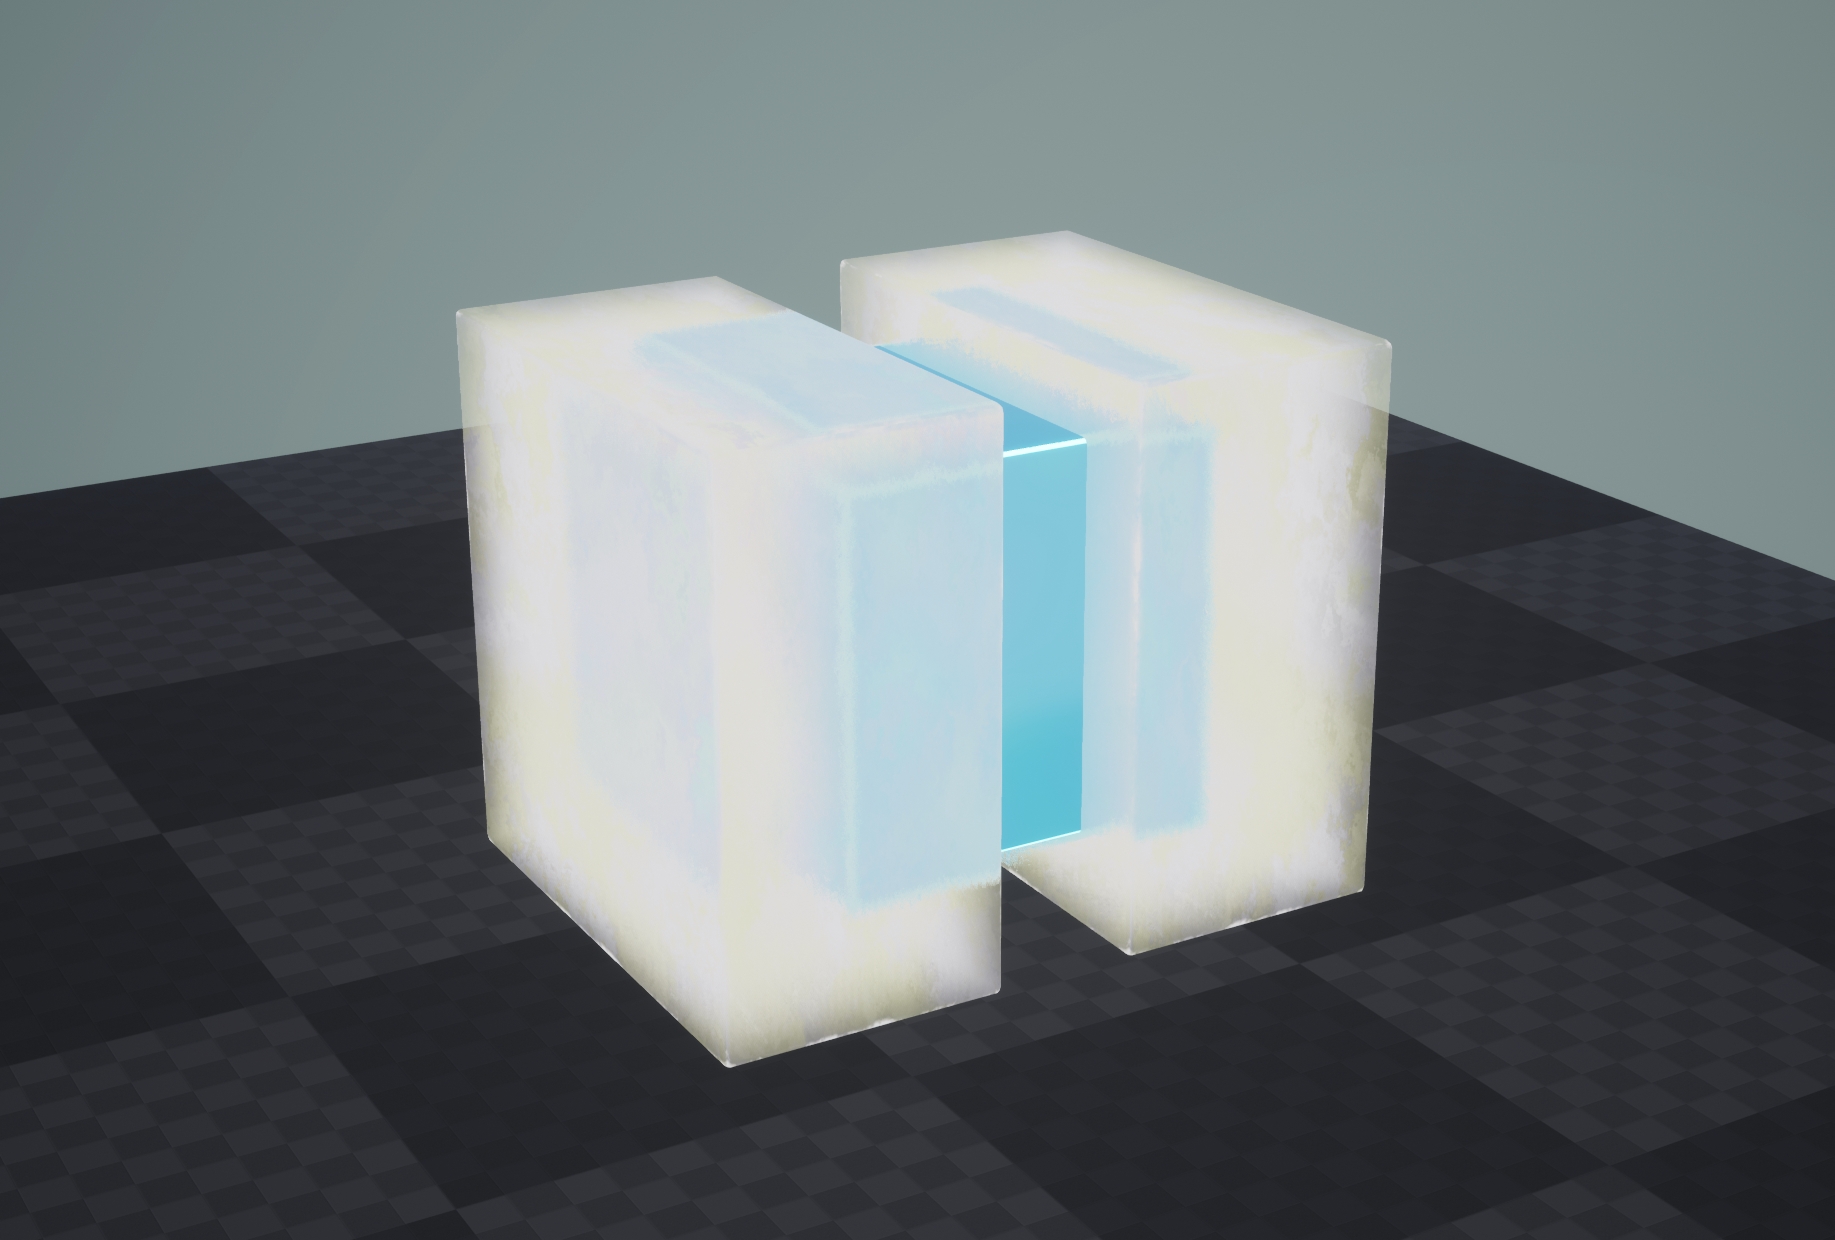
最终效果

制作思路
具体的原理可以看最上面发的参考文章,这里只做简述:
将由一个挂在相机上的脚本实现后处理效果。调用一个shader处理图像。
大致步骤:
- 提取图片中亮的地方的信息;
- 模糊提取出的图像;
- 将模糊后的图像与原图像叠加输出;
注:这里要开启HDR,因为只有HDR可以储存高亮度信息;
制作步骤
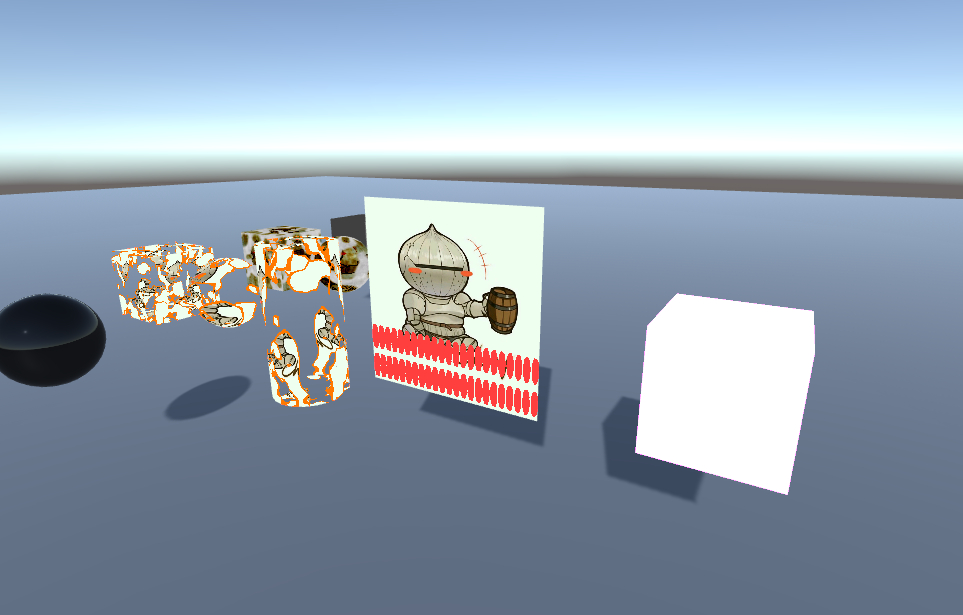
准备
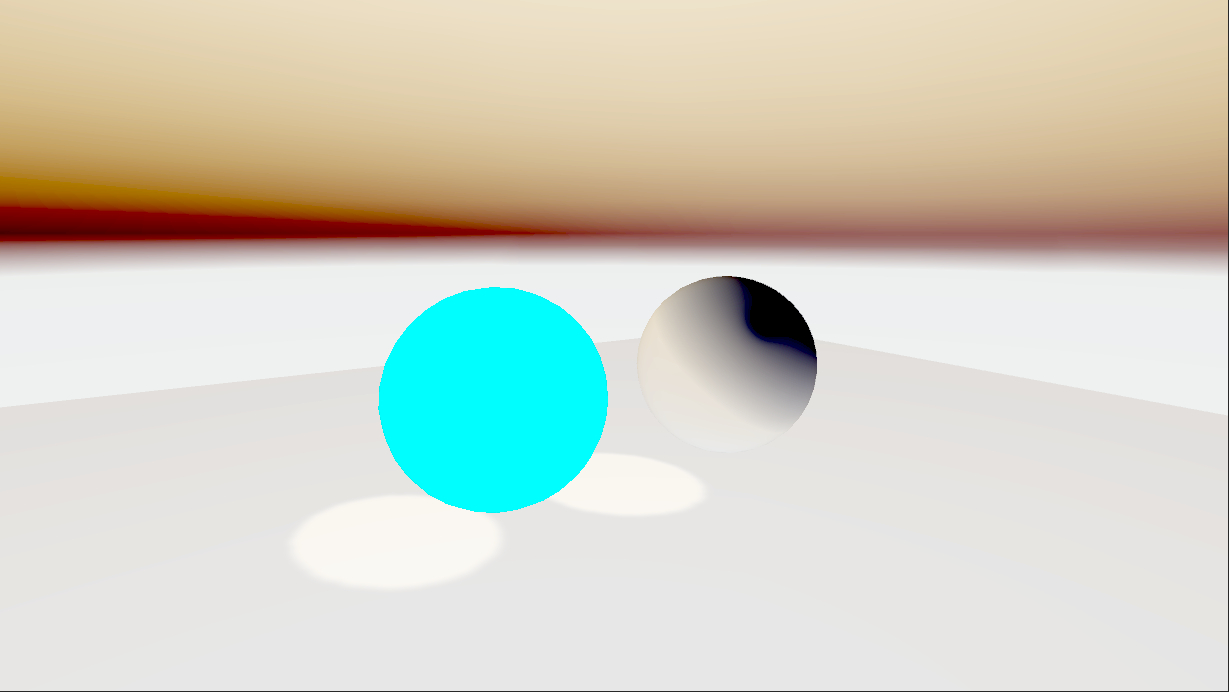
首先在场景中放入几个自发光物体;
新建一个脚本和Image Effect Shader,我这里就命名为Bloom.cs和Bloom.shader。打开shader,看一下里面的片元着色器咋写的:
1
2
3
4
5
6
7
| fixed4 frag (v2f i) : SV_Target
{
fixed4 col = tex2D(_MainTex, i.uv);
col.rgb = 1 - col.rgb;
return col;
}
|
很明显就是一个反色,咱们可以先用这个来测试一下。
先把shader上面的路径改一下:
1
| Shader "PostProcess/Bloom"
|
打开脚本,把他自带的Start和Update函数删了。然后新建两个变量,一个是咱们的shader,另一个是使用shader的材质。我这里把shader的路径也储存为了const字符串。然后在Awake函数中找到咱们的bloom shader并赋给材质。
1
2
3
4
5
6
7
8
9
10
11
12
13
| [ExecuteInEditMode]
[ImageEffectAllowedInSceneView]
public class Bloom1 : MonoBehaviour
{
[SerializeField] Shader bloomShader;
[SerializeField] Material mat;
const string shaderPath = "PostProcess/Bloom";
private void Awake()
{
bloomShader = Shader.Find(shaderPath);
mat = new Material(bloomShader);
}
}
|
这时候把脚本挂在主相机上就应该看到两个变量都出来东西了:
然后在脚本中添加OnRenderImage函数,自动会补齐参数。其中参数source是传入的图片,destination是传出参数。添加如下代码:
1
2
3
4
| private void OnRenderImage(RenderTexture source, RenderTexture destination)
{
Graphics.Blit(source, destination);
}
|
鼠标放函数上看看这函数是干啥的:
意思是用shader把source传给destination,那咋赋shader呢,就看函数的重载,发现第三个参数应该填材质,第四个参数是Pass,也就是用材质的shader的哪个通道,咱们目前的shader只有一个默认的通道,所以pass是0,将代码改为如下:
1
| Graphics.Blit(source, destination, mat, 0);
|
然后就能看到反色效果嘞!
到这里都没有问题的话就可以开始做了。
提取亮部
直接在shader的这个pass上进行更改。提取亮部肯定需要有个阈值拉,所以先在shader的属性中加一个_Threshold。然后新建一个提取亮度的函数,在片段着色器调用:
1
2
3
4
5
6
7
8
9
10
11
12
13
14
15
16
17
| float _Threshold;
// 提取亮度函数
half3 PreFilter(half3 c)
{
// 选RGB中最亮的作为亮度
half brightness = c.r * 0.3 + c.g * 0.59 + c.b * 0.11;
half contribution = max(0, brightness - _Threshold);
contribution /= max(brightness, 0.00001);
return c * contribution;
}
...
fixed4 frag (v2f i) : SV_TARGET
{
return fixed4(PreFilter(tex2D(_MainTex, i.uv)), 1);
}
|
然后在脚本中也暴露一个Threshold变量,并设置shader属性:
1
2
3
4
5
6
7
8
9
| [SerializeField, Range(0, 3)] public float threshold = 0.8f;
...
private void OnRenderImage(RenderTexture source, RenderTexture destination)
{
mat.SetFloat("_Threshold", threshold);
Graphics.Blit(source, destination, mat, 0);
}
|
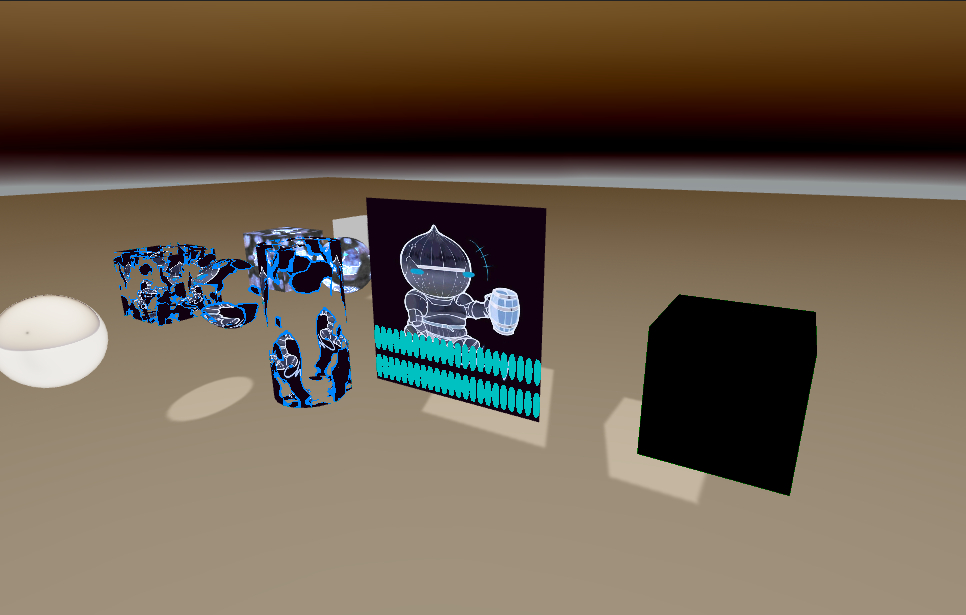
现在在就可以在场景中看到提取亮部的效果啦,还可以通过调节变量threshold来调节阈值:
这一步就算做完啦。
模糊图像
模糊图像的基本原理就是把图像变小再变大,自然就模糊了。这里先把提取亮度的代码注释掉,先测试一下通过向下采样模糊的效果。更改脚本中的代码:
1
2
3
4
5
6
7
8
9
10
11
12
13
14
15
16
17
18
19
20
21
22
23
24
25
26
27
28
29
30
31
32
33
34
35
| [SerializeField, Range(0, 7)] public int blurTime = 5;
...
int width = source.width;
int height = source.height;
RenderTexture tmpSource, tmpDest;
tmpSource = RenderTexture.GetTemporary(width, height, 0, source.format);
Graphics.Blit(source, tmpSource);
tmpDest = tmpSource;
int i = 1;
for (; i < blurTime; i++)
{
width /= 2;
height /= 2;
tmpDest = RenderTexture.GetTemporary(width, height, 0, source.format);
Graphics.Blit(tmpSource, tmpDest);
RenderTexture.ReleaseTemporary(tmpSource);
tmpSource = tmpDest;
}
for (i -= 1; i > 0; i--)
{
width *= 2;
height *= 2;
tmpDest = RenderTexture.GetTemporary(width, height, 0, source.format);
Graphics.Blit(tmpSource, tmpDest);
RenderTexture.ReleaseTemporary(tmpSource);
tmpSource = tmpDest;
}
Graphics.Blit(tmpSource, destination);
|
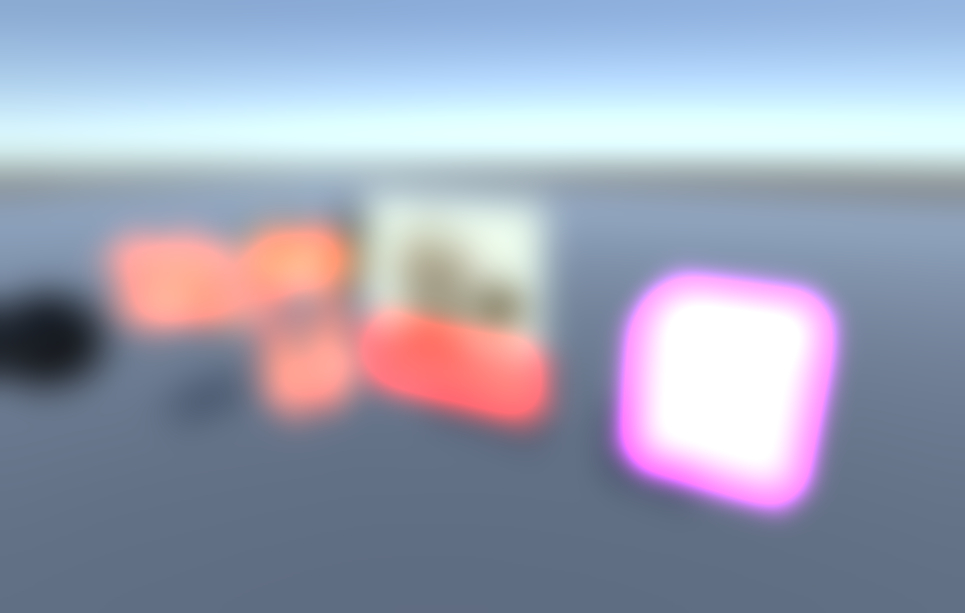
现在已经可以看到模糊的效果了:
但这个模糊效果未免太辣鸡了点,这是因为咱们没用任何模糊算法,就直接硬采样。模糊算法有高斯算法啊之类的,但没必要,用Box Blur就够了,所以在shader中添加一个新的pass,做Box Blur(别的东西直接复制Pass0就成):
1
2
3
4
5
6
7
8
9
10
11
12
13
14
15
16
17
18
19
20
21
22
23
24
25
26
27
28
| sampler2D _MainTex;
float4 _MainTex_TexelSize; // 储存了图片像素大小
half3 BoxFliter(float2 uv, float t)
{
half2 upL, upR, downL, downR;
// 计算偏移量
upL = _MainTex_TexelSize.xy * half2(t, 0);
upR = _MainTex_TexelSize.xy * half2(0, t);
downL = _MainTex_TexelSize.xy * half2(-t, 0);
downR = _MainTex_TexelSize.xy * half2(0, -t);
half3 col = 0;
// 平均采样
col += tex2D(_MainTex, uv + upL).rgb * 0.25;
col += tex2D(_MainTex, uv + upR).rgb * 0.25;
col += tex2D(_MainTex, uv + downL).rgb * 0.25;
col += tex2D(_MainTex, uv + downR).rgb * 0.25;
return col;
}
...
fixed4 frag (v2f i) : SV_Target
{
return fixed4(BoxFliter(i.uv, 1).rgb, 1);
}
|
在脚本中将盒体模糊的Blit函数设置为使用通道1就好了(注意有两个位置):
1
| Graphics.Blit(tmpSource, tmpDest, mat, 1);
|
现在的效果就绝美了,甚至完全能匹敌高斯模糊:
现在在脚本中,新建tmp的Blit函数中,让其使用一开始创建的提取亮部的Pass0:
1
| Graphics.Blit(source, tmpSource, mat, 0);
|
现在就可以看到模糊亮部的效果啦:
现在又发现了一个问题,当物体发光的时候,光晕确实是这样的,但是物体本身会趋向于变白,但我们这里还是保留了物体的原色,所以需要改一下。
具体改的方法就是,在每一次向下采样的时候,都将图存在一个数组里,再向上采样的时候用一个与咱们的Pass1完全相同,但是混合模式为Blend one one的通道做叠加。首先先更改脚本:
1
2
3
4
5
6
7
8
9
10
11
12
13
14
15
16
17
18
19
20
21
22
23
24
25
26
| RenderTexture[] textures = new RenderTexture[blurTime];
int i = 1;
for (; i < blurTime; i++)
{
width /= 2;
height /= 2;
tmpDest = RenderTexture.GetTemporary(width, height, 0, source.format);
textures[i] = tmpDest;
Graphics.Blit(tmpSource, tmpDest, mat, 1);
RenderTexture.ReleaseTemporary(tmpSource);
tmpSource = tmpDest;
}
for (i -= 1; i > 0; i--)
{
RenderTexture.ReleaseTemporary(tmpDest);
tmpDest = textures[i];
textures[i] = null;
Graphics.Blit(tmpSource, tmpDest, mat, 1);
RenderTexture.ReleaseTemporary(tmpSource);
tmpSource = tmpDest;
}
|
然后直接复制Pass1粘在下面,在最前面加个blend one one:
1
2
3
4
5
6
7
8
| Pass // 2 合体后期 + 亮度累加
{
blend one one
CGPROGRAM
...
ENDCG
}
|
然后把脚本中向上采样的时候的Blit函数改为使用Pass2:
1
| Graphics.Blit(tmpSource, tmpDest, mat, 2);
|
现在就可以看到效果很好的Bloom效果嘞:
下面就是把这个Bloom叠加到原图上就好嘞!
叠加输出
在shader中再新建一个2D变量,用于储存一开始的原图。然后再新建一个Pass(放心这是最后一个Pass了),用于叠加图片:
1
2
3
4
5
6
7
8
9
10
11
| sampler2D _SourceTex;
sampler2D _MainTex;
...
fixed4 frag (v2f i) : SV_TARGET
{
fixed3 source = tex2D(_SourceTex, i.uv).rgb;
fixed3 blur = tex2D(_MainTex, i.uv).rgb;
return fixed4(source + blur, 1);
}
|
在脚本中传入_SourceTex,并且在最后传出的时候使用Pass3:
1
2
3
4
5
6
| mat.SetTexture("_SourceTex", source);
...
Graphics.Blit(tmpSource, destination, mat, 3);
|
然后就大功告成嘞!
完整代码
脚本:
1
2
3
4
5
6
7
8
9
10
11
12
13
14
15
16
17
18
19
20
21
22
23
24
25
26
27
28
29
30
31
32
33
34
35
36
37
38
39
40
41
42
43
44
45
46
47
48
49
50
51
52
53
54
55
56
57
58
59
60
61
62
63
| using System.Collections;
using System.Collections.Generic;
using UnityEngine;
[ExecuteInEditMode]
[ImageEffectAllowedInSceneView]
public class Bloom1 : MonoBehaviour
{
[SerializeField] Shader bloomShader;
[SerializeField] Material mat;
[SerializeField, Range(0, 3)] public float threshold = 0.8f;
[SerializeField, Range(0, 7)] public int blurTime = 5;
const string shaderPath = "PostProcess/Bloom";
private void Awake()
{
bloomShader = Shader.Find(shaderPath);
mat = new Material(bloomShader);
}
private void OnRenderImage(RenderTexture source, RenderTexture destination)
{
mat.SetFloat("_Threshold", threshold);
mat.SetTexture("_SourceTex", source);
int width = source.width;
int height = source.height;
RenderTexture tmpSource, tmpDest;
tmpSource = RenderTexture.GetTemporary(width, height, 0, source.format);
Graphics.Blit(source, tmpSource, mat, 0);
tmpDest = tmpSource;
RenderTexture[] textures = new RenderTexture[blurTime];
int i = 1;
for (; i < blurTime; i++)
{
width /= 2;
height /= 2;
tmpDest = RenderTexture.GetTemporary(width, height, 0, source.format);
textures[i] = tmpDest;
Graphics.Blit(tmpSource, tmpDest, mat, 1);
RenderTexture.ReleaseTemporary(tmpSource);
tmpSource = tmpDest;
}
for (i -= 1; i > 0; i--)
{
RenderTexture.ReleaseTemporary(tmpDest);
tmpDest = textures[i];
textures[i] = null;
Graphics.Blit(tmpSource, tmpDest, mat, 2);
RenderTexture.ReleaseTemporary(tmpSource);
tmpSource = tmpDest;
}
Graphics.Blit(tmpSource, destination, mat, 3);
}
}
|
shader:
1
2
3
4
5
6
7
8
9
10
11
12
13
14
15
16
17
18
19
20
21
22
23
24
25
26
27
28
29
30
31
32
33
34
35
36
37
38
39
40
41
42
43
44
45
46
47
48
49
50
51
52
53
54
55
56
57
58
59
60
61
62
63
64
65
66
67
68
69
70
71
72
73
74
75
76
77
78
79
80
81
82
83
84
85
86
87
88
89
90
91
92
93
94
95
96
97
98
99
100
101
102
103
104
105
106
107
108
109
110
111
112
113
114
115
116
117
118
119
120
121
122
123
124
125
126
127
128
129
130
131
132
133
134
135
136
137
138
139
140
141
142
143
144
145
146
147
148
149
150
151
152
153
154
155
156
157
158
159
160
161
162
163
164
165
166
167
168
169
170
171
172
173
174
175
176
177
178
179
180
181
182
183
184
185
186
187
188
189
190
191
192
193
194
195
196
197
198
199
200
201
202
203
204
205
206
207
208
209
210
211
| Shader "PostProcess/Bloom"
{
Properties
{
_MainTex ("Texture", 2D) = "white" {}
_Threshold ("Thresold", Range(0, 1)) = 0.8
_SourceTex ("Source Texture", 2D) = "white" {}
}
SubShader
{
// No culling or depth
Cull Off ZWrite Off ZTest Always
Pass // 0 提取亮度
{
CGPROGRAM
#pragma vertex vert
#pragma fragment frag
#include "UnityCG.cginc"
struct appdata
{
float4 vertex : POSITION;
float2 uv : TEXCOORD0;
};
struct v2f
{
float2 uv : TEXCOORD0;
float4 vertex : SV_POSITION;
};
float _Threshold;
sampler2D _MainTex;
half3 PreFilter(half3 c)
{
half brightness = max(c.r, max(c.g, c.b));
half contribution = max(0, brightness - _Threshold);
contribution /= max(brightness, 0.00001);
return c * contribution;
}
v2f vert (appdata v)
{
v2f o;
o.vertex = UnityObjectToClipPos(v.vertex);
o.uv = v.uv;
return o;
}
fixed4 frag (v2f i) : SV_Target
{
return fixed4(PreFilter(tex2D(_MainTex, i.uv)), 1);
}
ENDCG
}
Pass // 1 盒体模糊
{
CGPROGRAM
#pragma vertex vert
#pragma fragment frag
#include "UnityCG.cginc"
struct appdata
{
float4 vertex : POSITION;
float2 uv : TEXCOORD0;
};
struct v2f
{
float2 uv : TEXCOORD0;
float4 vertex : SV_POSITION;
};
sampler2D _MainTex;
float4 _MainTex_TexelSize;
half3 BoxFliter(float2 uv, float t)
{
half2 upL, upR, downL, downR;
// 计算偏移量
upL = _MainTex_TexelSize.xy * half2(t, 0);
upR = _MainTex_TexelSize.xy * half2(0, t);
downL = _MainTex_TexelSize.xy * half2(-t, 0);
downR = _MainTex_TexelSize.xy * half2(0, -t);
half3 col = 0;
// 平均盒体采样
col += tex2D(_MainTex, uv + upL).rgb * 0.25;
col += tex2D(_MainTex, uv + upR).rgb * 0.25;
col += tex2D(_MainTex, uv + downL).rgb * 0.25;
col += tex2D(_MainTex, uv + downR).rgb * 0.25;
return col;
}
v2f vert (appdata v)
{
v2f o;
o.vertex = UnityObjectToClipPos(v.vertex);
o.uv = v.uv;
return o;
}
fixed4 frag (v2f i) : SV_Target
{
return fixed4(BoxFliter(i.uv, 1).rgb, 1);
}
ENDCG
}
Pass // 2 盒体模糊 + 亮度累加
{
blend one one
CGPROGRAM
#pragma vertex vert
#pragma fragment frag
#include "UnityCG.cginc"
struct appdata
{
float4 vertex : POSITION;
float2 uv : TEXCOORD0;
};
struct v2f
{
float2 uv : TEXCOORD0;
float4 vertex : SV_POSITION;
};
sampler2D _MainTex;
float4 _MainTex_TexelSize;
half3 BoxFliter(float2 uv, float t)
{
half2 upL, upR, downL, downR;
// 计算偏移量
upL = _MainTex_TexelSize.xy * half2(t, 0);
upR = _MainTex_TexelSize.xy * half2(0, t);
downL = _MainTex_TexelSize.xy * half2(-t, 0);
downR = _MainTex_TexelSize.xy * half2(0, -t);
half3 col = 0;
// 平均盒体采样
col += tex2D(_MainTex, uv + upL).rgb * 0.25;
col += tex2D(_MainTex, uv + upR).rgb * 0.25;
col += tex2D(_MainTex, uv + downL).rgb * 0.25;
col += tex2D(_MainTex, uv + downR).rgb * 0.25;
return col;
}
v2f vert (appdata v)
{
v2f o;
o.vertex = UnityObjectToClipPos(v.vertex);
o.uv = v.uv;
return o;
}
fixed4 frag (v2f i) : SV_Target
{
return fixed4(BoxFliter(i.uv, 1).rgb, 1);
}
ENDCG
}
Pass // 3 合并
{
CGPROGRAM
#pragma vertex vert
#pragma fragment frag
#include "UnityCG.cginc"
struct appdata
{
float4 vertex : POSITION;
float2 uv : TEXCOORD0;
};
struct v2f
{
float2 uv : TEXCOORD0;
float4 vertex : SV_POSITION;
};
sampler2D _SourceTex;
sampler2D _MainTex;
v2f vert (appdata v)
{
v2f o;
o.vertex = UnityObjectToClipPos(v.vertex);
o.uv = v.uv;
return o;
}
fixed4 frag (v2f i) : SV_TARGET
{
fixed3 source = tex2D(_SourceTex, i.uv).rgb;
fixed3 blur = tex2D(_MainTex, i.uv).rgb;
return fixed4(source + blur, 1);
}
ENDCG
}
}
}
|